Showing posts with label marshmallows. Show all posts

Wednesday, October 19, 2011

Mini S'mores Pies

"Oh yeah, that's like a chocolate bomb. That's gonna be good." - G

They were. And I made it up myself! Look at me, experimenting. I used bits of other recipes, and it was born out of a desire to use up my stores of marshmallows and graham crackers, but I'm still proud of myself.

Mini S'mores Pie

To make the crust, I halved this recipe, and to make the chocolate, I went back to the S'mores truffle recipe and three-quartered it (instructions below are already halved and three-quartered):

Mini S'mores Pies (makes 7-9)

Crust:
3/4 cup finely ground cinnamon graham cracker crumbs (or use regular graham crackers and add some cinnamon) (or be lazy and use a pre-made crust, who am I, the pie crust Nazi?)
2 tablespoons and 2 teaspoons white sugar
3 tablespoons butter, melted


Filling:

1 1/2 tablespoons unsalted butter
1/3 cup heavy cream, approx.
1 1/2 cups milk chocolate chips (9 oz.) I've made these with milk and dark chocolate. Go with whatever you have or prefer, they'll be delicious either way.
40 mini marshmallows, approx.
About 2 graham crackers, some finely crushed, and some broken in medium-sized bits

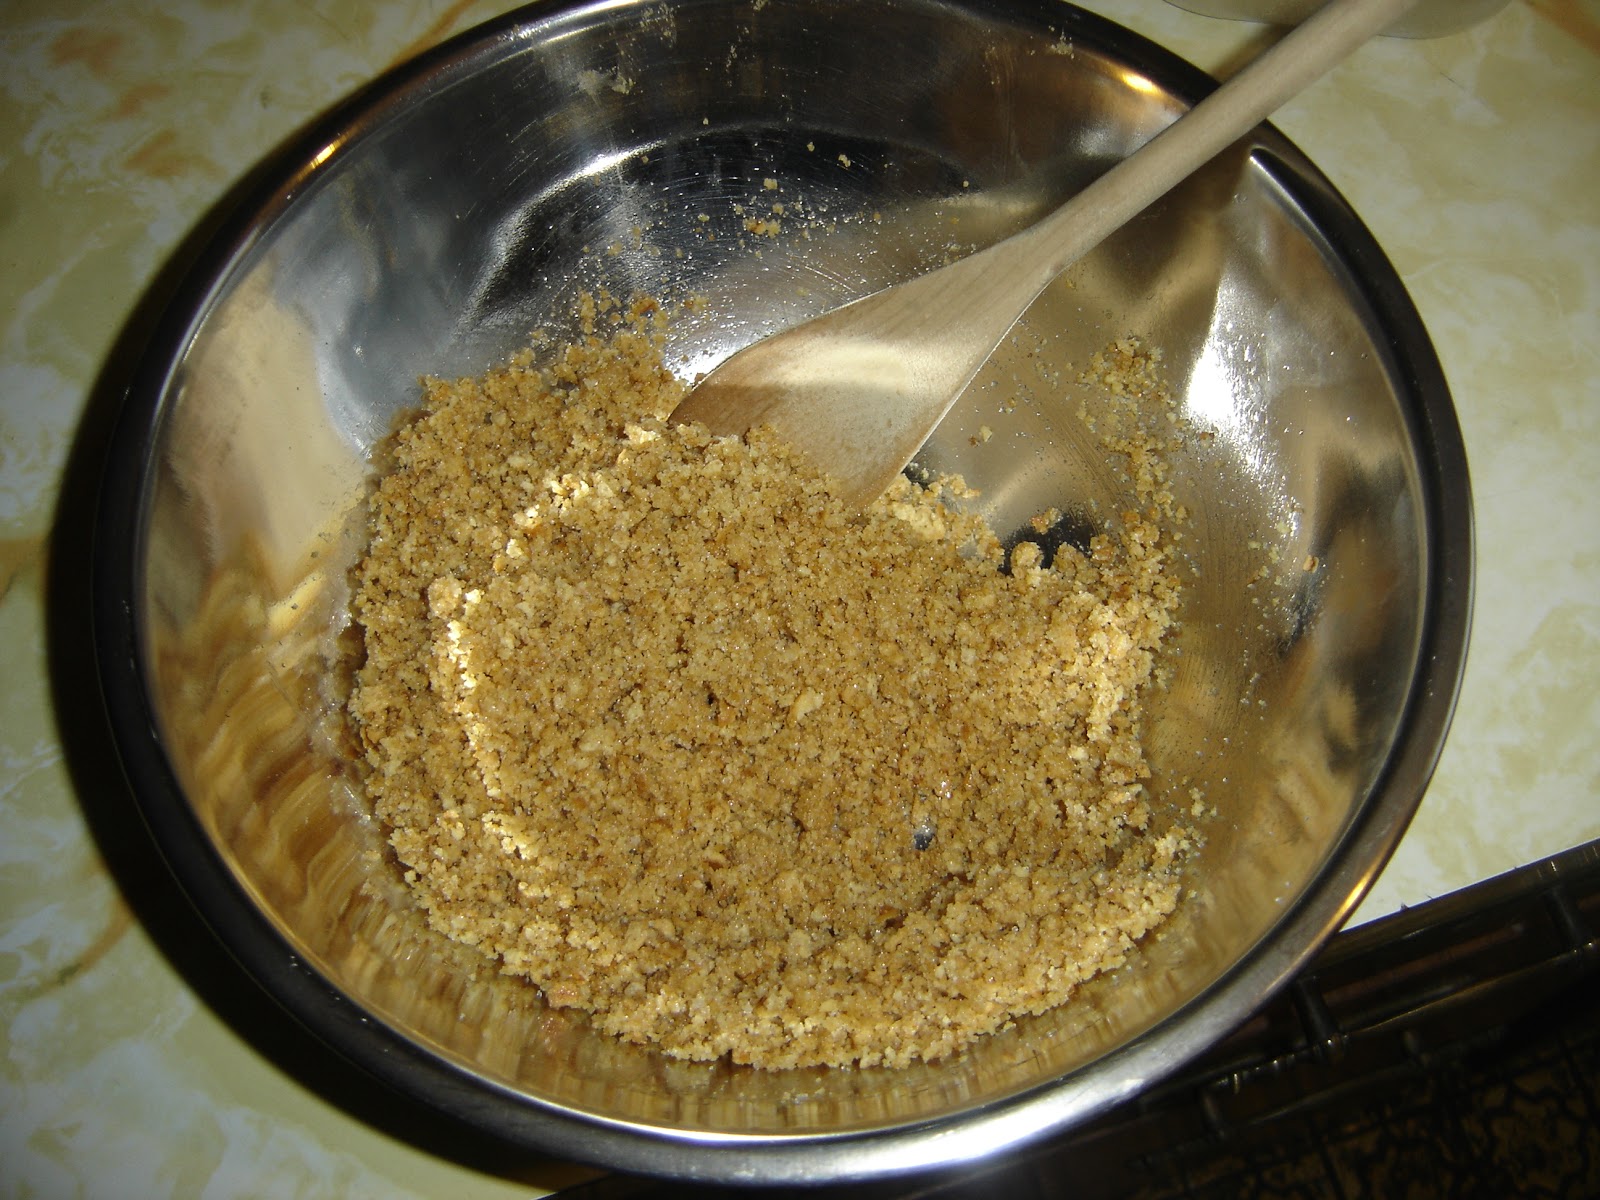
1) Mix graham cracker crumbs, sugar, and melted butter until well blended. The mixture will be crumbly and it will seem like you haven't used enough butter or anything sticky, but it'll work out. I used a wooden spoon, and that was sufficient.

Mixed to the max

2) Press mixture into 7-9 muffin tin spaces. Only make 7 if you want a thicker or higher crust. I made 9, but the sides weren't thick enough and burnt a little bit. If you go with 7, you won't need as much chocolate.

3) Bake at 375 degrees F (190 degrees C) for 7 minutes. Let cool.

Chillin.

4) Melt butter in a small or medium saucepan, then whisk in the cream and bring it to a boil.

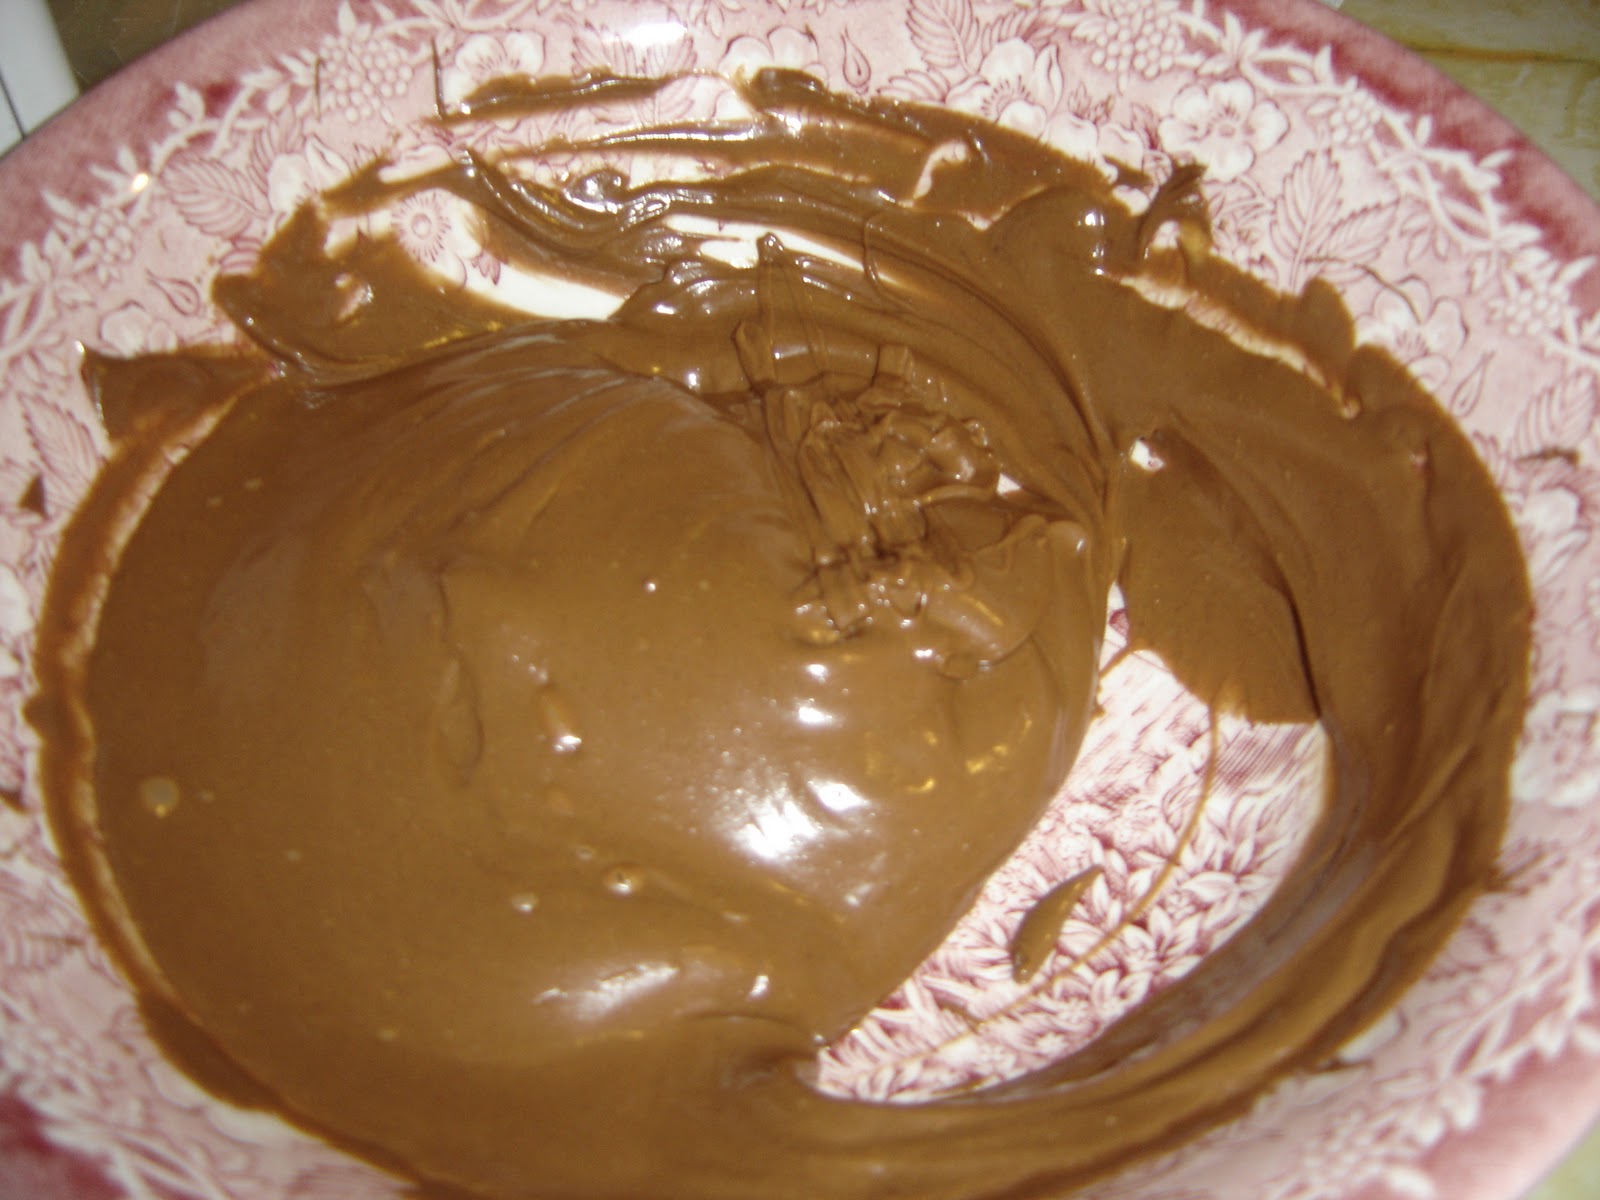
5) Place the chocolate chips in a bowl and pour the boiling butter-cream over it. Stir until all of the chocolate's melted and smooth. If there are still lumps, place the bowl over a pot of water on a low boil and stir until they're gone.

6) While the mixture is still liquidy, pour a thin layer into the graham cracker crusts, still in the muffin tin.

7) Place four or five mini marshmallows in the chocolate, and pour a thicker layer of chocolate over them so the marshmallows are covered.

Progress, from left to right.

8) Sprinkle some graham cracker crumbs over the pies and stick some larger bits on top in a charmingly haphazard fashion.

Crumb explosion in aisle 1!

9) To set the chocolate, stick in either the fridge or the freezer for at least an hour. They keep well, travel well, and taste delicious cold. In my opinion, the marshmallows taste much better right after being in the cold. They get more substantial, in a way.


I still have s'mores materials left over, so my next move is a S'mores candy bar. I need a chocolate thermometer to figure out tempering, but that's gotta be easy... If I make these mini pies again, and I will, as G has already dumped the Cinnamon S'mores Truffle in favor of these, I would use more marshmallows. I want the cross-section to show almost a complete marshmallow layer. I also want to try baking it, so that the marshmallows will melt.

Mmmm. Pies.

So delicious.

Sunday, October 2, 2011

Cinnamon S'mores Truffles

"I'm sorry, I didn't hear anything you just said, I was focusing on the truffle."

This is how many were left today.
I had a recipe for S'mores truffles already, but Chrome gave me a malware warning when I went back to the website, so I went looking for another version and landed on this one. AMAZING. I've been pushing these on everyone I know/meet. The recipe says it makes 24, and I made 47 with the same ingredients, so don't get too hung up on a specific number. No matter how many you make, they will be gone quickly.

This is how many I made. Plus one that mysteriously went missing.
I made them Friday afternoon. Friday night, G and I ate a lot of them, maybe 2/3 of a plate. Saturday morning, G went to work, and I sent out a distress email to some friends to help me eat the rest. Home all day with a fridge full of truffles? Prognosis (of me not eating all of them): Negative. My old roommates and their new roommate came by and loved them, G's visiting friend and his girlfriend came by and loved them, G loved another, I loved some more of them, and I ended up sick to my stomach. WARNING: Don't eat more than two or three of these within a few hours. Definitely don't spend all day at home eating them. They're extremely rich. You need willpower. Willpower or an iron stomach. G voted these his favorite so far, and he looooved those mudslide balls.

OK, it's baking time. You need this stuff:


12 oz. chocolate, 1/2 cup heavy cream, approx. 50 mini-marshmallows, 6-7 graham cracker sheets, 2 tbsp butter, 1 pan, 1 whisk.

Melt the butter in a medium saucepan. I went with the gigantic and only pan we had, and I would strongly suggest sticking with something smaller. Less chocolate will be wasted in the end since there's a smaller surface area for the remnants to stick to. Whisk in the cream and bring it to a boil.

Remove the pan from heat and stir in the chocolate chips until everything's melted. I want to try this with baker's chocolate instead of chocolate chips next time - that might help the chocolate be more moldable and less melt-all-over-your-hands-able.

Oh, the smells.
Don't eat this yet. Or do. What do I care.
Chill the saucepan in the fridge for an hour or so, until the chocolate is solid and roll-able. This is another reason why a smaller saucepan would be helpful. We lost an entire shelf in the fridge, and I had this monster sitting there for a week. It's a long story. TIP: don't worry about keeping it in there too long. A couple of minutes out of the fridge and the chocolate will be fine and melt-y. If you have it in there a while, remember to keep it covered so it doesn't desiccate. (Bonus tip courtesy of G, who kindly covered my chocolate for me).

Cold, mold-y chocolate. Moldy in a good way.
While you're waiting for the chocolate to look like this, break out some cinnamon graham crackers. Obviously you can use whatever kind of graham cracker you want, or buy the crumbs pre-crushed, whatever you feel like. I like cinnamon. I went with 7 sheets, and it ended up being almost exactly 1 cup of crumbs. I ended up with a lot left over, so it might depend on how heavily you crumb up your final balls. Stick the sheets in a plastic bag, and mash 'em up with a rolling pin. Or crush them with your bare hands and reenact your favorite beer can-crushing or strangulation movie scene. Then move the crumbs into a small bowl or Tupperware container.

Moldy in the fake-bad way.
Please excuse the Mold Monster on the plastic bag. My lunch keeps getting stolen at work, so when a coworker was browsing the MoMA store and saw these thief-deterrent bags with fake mold on them, she bought them for me.

More like a Measuring Monster, am I right? Measusaurus.
Poke your cooling chocolate. Does it smush at all? Leave it in for longer. If it's stiff, take it out. Now comes the PIA part. The original recipe contains these directions: "roll into 24 balls, stuffing a mini marshmallow into the center of each." Seems easy enough. Gloss over-able. But I started to do it, and I realized that I don't know how to roll a mini-marshmallow into the center of a ball. I can roll chocolate into a ball, and I can place mini-marshmallows next to those balls of chocolate, but that's it. Am I supposed to cut a hole in the chocolate and stuff the marshmallow inside? No. Let's take a look at some of the mess this caused before I show my solutions:


I licked one finger clean before I realized this should be recorded as a warning/enticement/reminder to try different chocolate. I didn't take a picture every successive time I needed to wash off my hands, but it got much worse than this. For future attempts, I'm going to make sure I carve out all of my chocolate first so I don't have to keep washing my hands to get more pieces.

I looked like this for an hour before realizing it.
What worked for me was to cut out slices with a spoon and wrap them around the marshmallows, mushing the chocolate together at the joints. This gets messy, so it's best to keep the pieces large in order to minimize the mess. Easier to cut off the extras than try to join many small pieces.

My first slice. Way too small.
Bigger is better.
This thickness is pretty good.
Even thinner shavings like this are great.
Wrap a chocolate strip around the marshmallow, and stick two smaller pieces on each end.


 Smooth down the edges.


This was my most perfectly formed truffle, and it used double, thin layers.


If you end up with a couple that have bald spots, don't worry about it. You can hide that once they've hardened a bit. I did worry about it, and I ended up in the bizarre situation of trying to wipe melted chocolate off of my fingers and onto the melted truffle chocolate. This made the situation worse, always. I gave up and popped them in the fridge, and I smoothed some chocolate over the patches when there was less risk of causing structural damage. This is also a good time to make them more spherical, if that worries you. Do not try that on the first go-round, when everything's melting and making a mess.

Balding. It's hard to see, but it's there.
Another successful Hair Club for Truffles member.
 Double truffle!


Once you've used up all the chocolate, stick the truffles in the fridge to harden up a little. Take them out, roll them in the crumbs, and put them back in the fridge to finish solidifying. My kitchen was hot, and this process was time-consuming, which made me paranoid about melting. I was constantly moving completed balls into the fridge, but my hands were chocolate-y. My left foot got a unique workout that day.


You're done! If you get impatient, you can do what I did:

Spoon S'mores Truffle
It's a pale imitation of the real thing, which is SO GOOD. The printable version of the recipe is here.


 I tried making a graham cracker cabin for the remaining truffle to live in, with a graham cracker bed and marshmallow pillow. Melted marshmallow joint-work, of course. Not my best idea.


On October 14th, I'm donating baked goods to a work fundraiser for breast cancer research. If I can figure out a way to transport a ton of these truffles on the subway without them melting or getting crushed, I'm throwing out the pink cupcakes idea. I'm totally winning this fundraiser.

For the future: I want to try adding cinnamon and graham cracker bits to the chocolate.

Next project: Thin Mint Truffles.

Sunday, September 18, 2011

Mudslide Balls

My original goal was to make these Avalanche bars. Peanut butter and white chocolate and Rice Krispies and marshmallows, mmm. See how they're nice and white with just small flecks of chocolate? Because it looks like a snowy avalanche? I went in a different direction:

Mudslide Balls

Let's call them Mudslide Balls instead, since that sounds better than Chocolate Avalanche Cupcake Balls. I had leftover white chocolate morsels, but not too many, so even though I wanted to use them up, I didn't want to buy even more, creating more leftovers, creating a need to make more avalanche bars, and ending up forever circling the Möbius strip of baking purgatory. I figured I could replace half the white chocolate in the recipe with milk chocolate without anyone knowing the difference. What I didn't count on was regular chocolate + white chocolate ^= white chocolate with a hint of brown. It equals regular chocolate. You can't tell I used any white chocolate at all. So, looks, fail, but taste, win!

My kitchen counter also fails in looks, here showcased through the microwave-safe but too big for a microwave bowl into which I dumped my 12 ounces (-ish) of chocolate chips:

Ebony and ivory, living in perfect harmony.

My kitchen counter unattractively displaying all of the waste I created from this first step alone (too-big bowl, too-small green bowl, and ruined scraps of wax paper):

The real tragedy is that no wax paper was needed. The chocolate didn't splatter at all.

Heat the chips on medium power for 1 minute, then take out and stir. I can't tell what means "Medium Power" on my microwave, so I did it on the regular setting. After the first minute, take out every 30 seconds and stir until it's completely melted. The progression will look like this, and you might do what I did and keep shouting out "This smells so good! This smells so good already, I want to eat it right now! Come smell this!"

Really mash those effers up

Swirl it all around

Delicious-smelling melted chocolate

Mix in 1/4 cup creamy peanut butter, then add 3 cups of Rice Krispies (or Cocoa Krispies if you really want to go for it).

3 cups is a lot of krispies

Oops. I have run up against my burgeoning nemesis, the ill-sized bowl. I was not going to be able to mix this monster in such a small bowl. So I went back to the too-big-for-microwaves bowl and started mixing, with a small amount of anxiety over whether I had enough chocolate/peanut butter to hold it all together.

HOW CAN THIS POSSIBLY BE ENOUGH?

It worked out in the end. Barely. I probably should've measured my chocolate. I think I under-chocolated it, which is not the error I would've expected to make when it comes to chocolate.

Appetizing!

Let it cool for 15-20 minutes, stirring every once in a while to help it along. Stir in the marshmallows and mini chocolate chips, then spoon out the mixture to fill one regular-sized and one mini-muffin tin. Or you can try to cram it all into one muffin tin, or make actual bars with a cake pan. The original directions say to press down on it with the back of a spoon, but I let the balls fall where they may. I was thinking I didn't want to crush the krispies, but that probably would have held together the finished balls better. They tended to break apart and smear chocolate all over my fingers. For that reason it's probably better to stick with mini tins if I want to keep the same process, since those are 1-2 biters.

The original recipe also says to press some of the mini chocolate chips into the top for garnish. I skipped that step since it was already so dark chocolate-y, but I might have done it if I had any white chocolate chips left over, for the contrast. Now that I think of it, I could have sprinkled powdered sugar on top, to make it look snowy.

Then you're done! No baking needed. Let it cool completely, either on the counter or in the fridge, and then try to eat some before your boyfriend devours all of them. As I was falling asleep, I heard him in the kitchen: "These are pretty good." [Pause] "Wow, these are really good! I'm eating another one!" [Longer pause] "So good!" When I woke up, there were about three of the small balls left. I had made twelve and eaten one myself. They are good, folks. I had two friends come over for cupcake-baking yesterday, and they were also impressed after I forced them to try at least a ball each. Then again, one of them was also impressed by the sandwich G made out of toasting turkey and cheese on a tortilla.

I need a new camera. Every close-up is blurry.
Mudslide Balls recipe (stolen/inspired by Avalanche Bars):
6 oz of white chocolate chips
6 oz of milk/dark chocolate chips
1/4 cup creamy peanut butter
3 cups Rice Krispies (or Cocoa Krispies for extra chocolate)
1 1/2 cups mini marshmallows
1/4 cup mini chocolate chips
A 12-muffin tin and a 12-mini-muffin tin, lightly greased

1. Mix the 6 oz of white chocolate chips with the 6 oz of regular chocolate chips in a microwave-safe bowl.
2. Heat the chocolate in a microwave for a minute, then remove and stir. Keep heating for 30-second increments, stirring in between.
3. Mix in the 1/4 cup of peanut butter with a regular spoon or spatula.
4. Add in the Rice Krispies and mix together so the krispies are coated in chocolate-peanut butter goodness.
5. Let cool for 15-20 minutes, stirring occasionally.
6. Stir in the marshmallows and 1/4 cup mini chocolate chips.
7. Scoop into your muffin tin of choice.
8 (optional). Press mini chocolate chips or mini peanut butter chips into the top to make it look pretty, or sprinkle powdered sugar over them to make everything seem less muddy and more snowy.
9. The End! Wait for it to cool, and then eat. Waiting for it to cool is also optional.